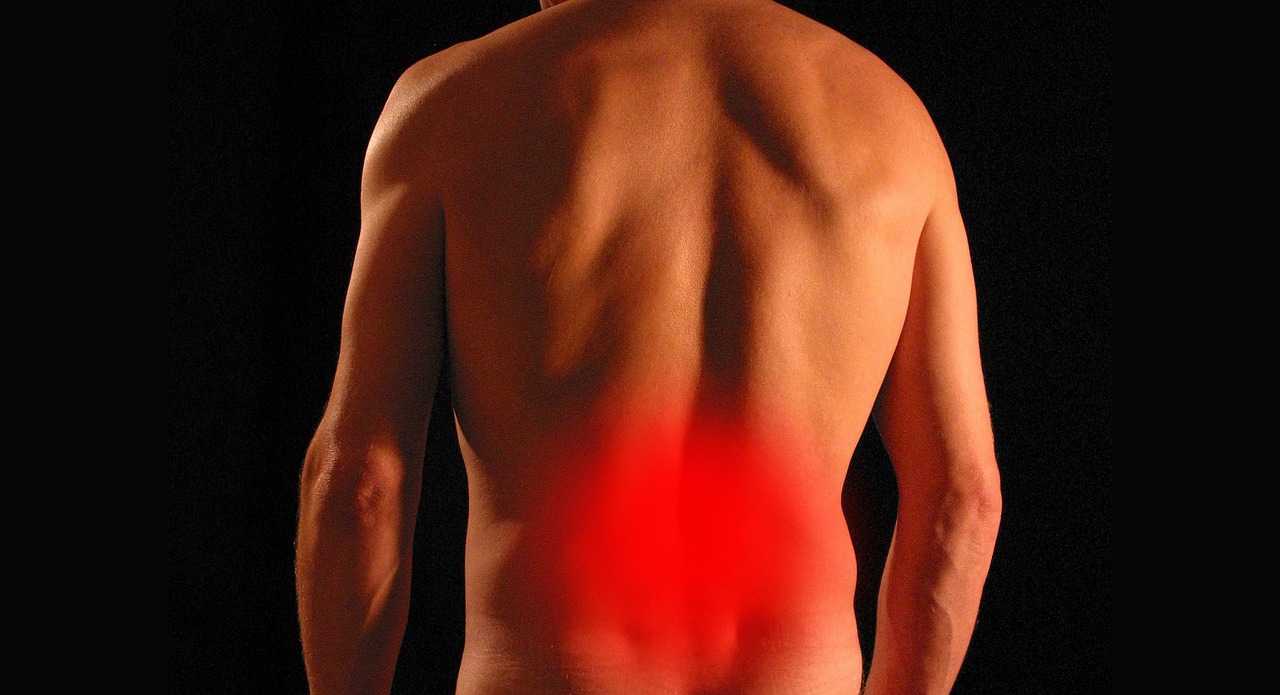
We’re constantly using the phrase ‘pain in my butt’ everyday, but for some unfortunate ones who have actually suffered from this pain can tell you how real and hurtful the struggle is. It is referred to as the sciatic nerve pain that happens when the sciatica flares up. Now this could be due to the Piriformis Syndrome, which takes place when a small muscle embedded in your hips known as the piriformis tightens up and compresses the sciatic nerve. This can cause immense pain with a strong burning sensation, and it can also numb one side of your hips all the way down to the back of your leg.
It’s not only piriformis that can trigger this pain, but the tight hip flexors can also pressurize the piriformis muscles and tighten them up to eventually trigger pain in the sciatic nerve. You know how trainers constantly keep pushing you to stretch your hips, it is the only way to ensure your piriformis muscle does not pressure or pinch the sciatic nerve. Stretching the hips helps release the pressure from the nerves by loosening up the piriformis muscles. In order to avoid this pain in the future, you must stretch regularly, and you can also use foam rolling on the hip rotator to loosen the tension in the piriformis muscle and relieve the pain.
Here are some easy and simple moves that can help you to get rid of this awful pain and make sure it doesn’t return. Do these at least thrice every week, and don’t stop even when the pain is gone.
1. Reclined Pigeon & Prep Stretch
Lie on a mat with your face-down and your knees bended so that your heels are placed right under your knees. Now, stretch your hands to the front of your thighs, then to the area of your legs that connect to your pelvis. Then, push the heels of each hand into the bottom of your leg bone. Now, lift up your right leg and place it in a crossed-over position on your leg. Now, using the small curve of your back, try to hold the back of your thighs and push your legs towards your hands but keep them away from your face. Hold this pose for several seconds and take deep breaths. Now, repeat this stretch on your left leg.
2. Pigeon
Begin by forming the runner’s lunge pose with right leg forward, and your right knee over right ankle. Keep your back leg straight and slowly, walk your right foot towards your left hand. Now gradually, drop your right shin along with your right thigh onto the floor. You need to make sure your right knee is in line with your right hip.
Now, let your left leg rest on the floor and place your left foot facing downwards on the floor. Now, square your hips to the front, and hold this pose. You can also hinge at your hips, lower your torso onto the floor and rest your head atop your forearms. Hold this pose for at least 30 seconds before you repeat this stretch on the other leg. This is a hard one but it will give your outer things an amazing stretch. It may hurt your knees a bit, but with more practice you’ll won’t notice the pain too much.
3. Low Lunge
Begin with adopting the pose of runner’s lunge with your right leg forward and your knee over your ankle. Your left knee must be on the ground and the top of your foot must be flat on the mat. Now, very gradually begin to lift up your torso and keep your hands rested lightly atop your right thing. Lean your hips outwards in a slow manner, while your right knee rests behind the toes. You’ll be able to feel the stretch in the hip flexor of your left leg. Now, hold this pose for several seconds and if you want to deepen the stretch, raise your arms atop your head so that you biceps are levelled near your ears. Hold this position at least 30 seconds and then repeat these moves on your left leg.
4. Reclining Cow’s Face Pose
Lie down on a mat with your face upwards, and cross your left leg atop your right leg. Now, start raising both your legs above the floor, and flex both your feet. Then, stretch outwards and try to hold both your outer ankles as you hug both your legs towards your abdomen. Now, spread your toes but make sure your feet stay flexed, and hug your legs as you hold this pose and breathe for several seconds. Slowly, leave both your legs and then repeat this stretch with your right leg.
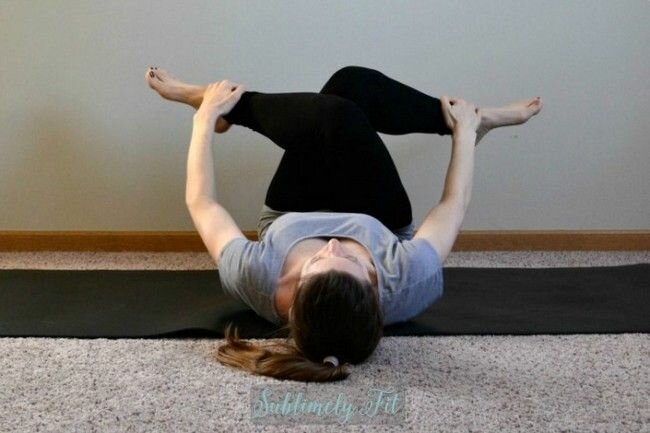
Photo Credit: Prevention.com
5. Frog Pose
You begin by lying upside down on the mat on all fours. Place your palms on the floor and your knees on the mat. If you want to avoid knee scraping and make this one easier, roll up the mat like a tortilla and put it under your knees.
Now gradually, start widening your knees until you can feel the stretch in your inner thighs. Make sure the insides of your calves and your feet are placed on the floor, and your ankles must stay aligned with your knees as you lower yourself onto your forearms. Maintain this pose for at least 30 seconds.
6. Foam Roll for Hip Rotator
Seat yourself atop the foam roller and bend your knees. Your feet should be placed flat on the floor as you lean your torso backwards. Place your right hand on the floor and shift the weight onto your right hip as you cross your ankle atop your left leg. Now, put your left hand atop your left thigh. Using the support from your foot and hand, roll the bottom of the glutes to your pelvic bone. Keep rolling back and forth for around 30-60 seconds.
We sincerely hope that these moves can help you get rid of the excruciating pain in your hips. For best results, maintain regularity while observing these stretches. And if the pain is still uncontrollable, it is highly recommended that you consult a professional medical expert.